How to Make a DIY Pressing Surface for Quilting
When I am quilting I want my seams nice and crisp. My patchwork (as well as my other home sewing) just turns out better so I rely on a good pressing surface and use one nearly daily.
But I don’t want to have to get out and put away a full-sized ironing board every day, and I also don’t want to have a full-sized ironing board set up in my tiny sewing space all the time. Even if I wanted to, there’s no room!
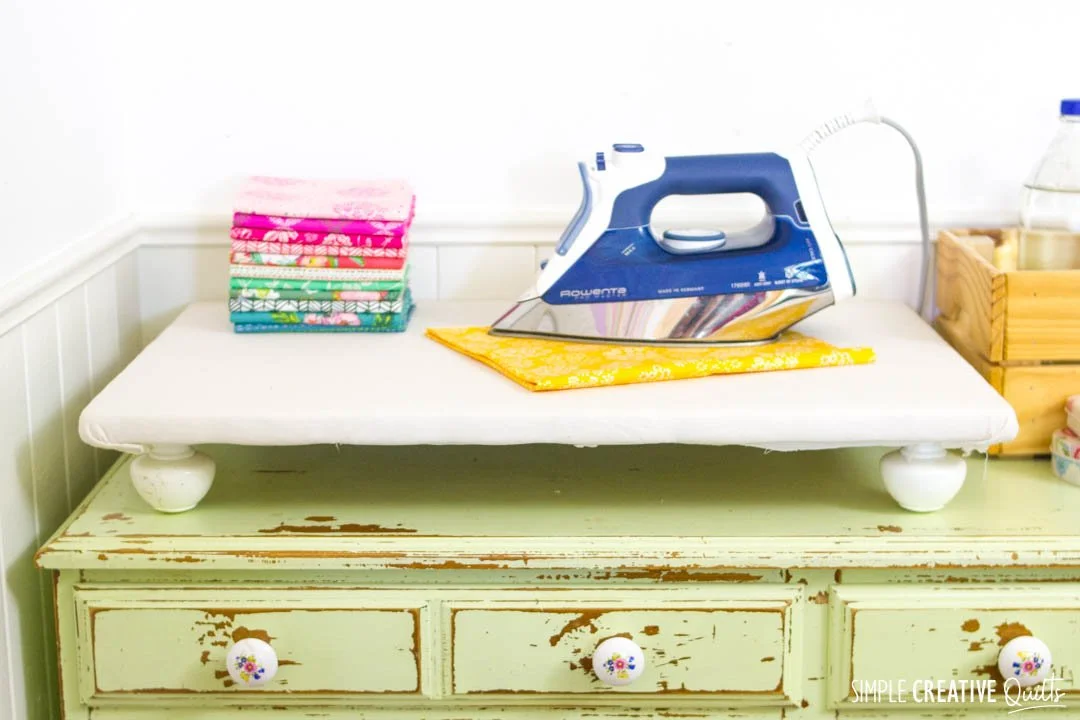
Enter the pressing surface. This is a small, flat, slightly padded surface that you can press (or iron) on. Mine is homemade and about 17" x 25" — just the right size for my needs. It fits perfectly on top of the cabinet I keep fabric and supplies in. As a bonus, the solid surface gets very hot and makes it easier to get those crisp lines. Mine also has legs to elevate it off the cabinet top for added protection from heat and steam.
Want to make your own? I thought you’d never ask!
Read on for all the details!
Project Table of Contents
Step 1: Gather Supplies
For this project, you will need:
Plywood, 3/4” thick and approximately 17” wide x 25” long
Measuring Tape
Straight Edge
Pencil
Saw
Wooden Curtain Rod Finials
100% Cotton Batting (I like Warm & Plush for this project)
100% Cotton Muslin (I like Kona Natural)
Staple Gun
Staples
Notes:
Any scrap of plywood will work as long as it is the right size for your project.
Updated May 28, 2020: I just used a scrap of plywood that I had leftover from a kitchen project. It had been painted on both sides, and when I later recovered the board, the batting sort of stuck to the paint and I ended up having to strip the board. So I would recommend using bare plywood rather than something with a coating on it that might not react well to the extreme heat and steam of an iron.
Step 2: Cut Plywood to Size
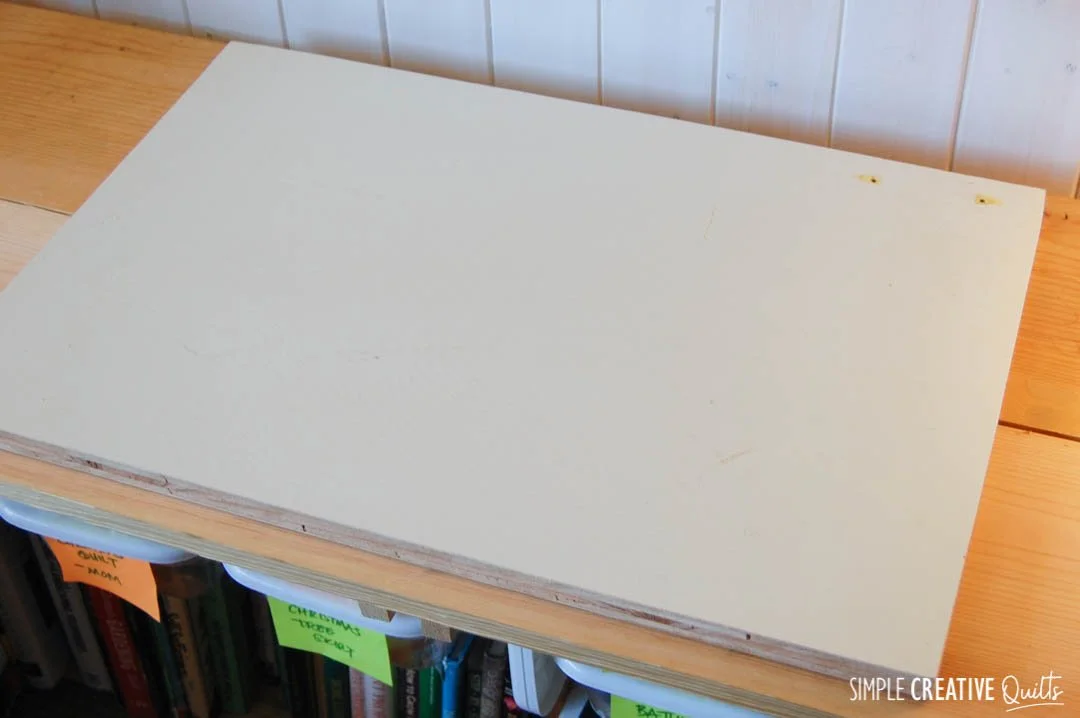
Measure and mark the dimensions of your plywood, then use the straight edge to draw pencil lines exactly where you are going to cut. Cut the plywood with your saw.
I chose to make my surface 17” x 25” because that’s what fit on the console I was using at the time, and luckily enough it has worked on every cabinet or sideboard I have put it on since then. But you can make the plywood any size that works for you.
Step 3: Cut Muslin and Batting
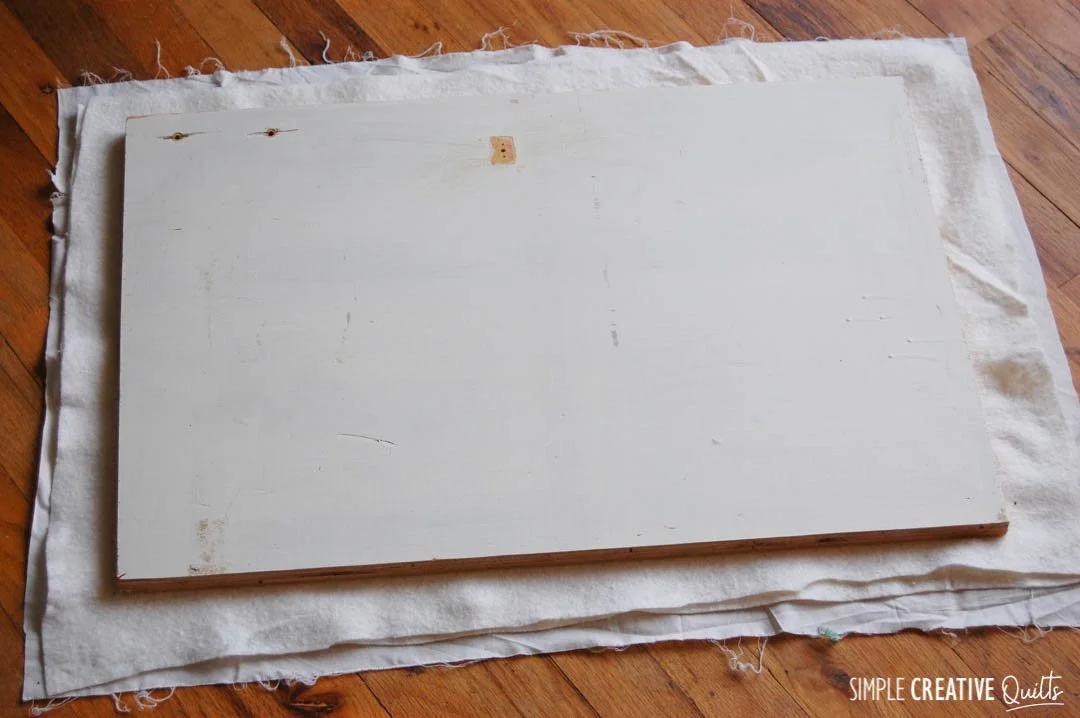
Using your cut piece of plywood as a guide, cut your batting about 2” bigger than the board. If you making a 17” x 25” surface, then you will need to cut your batting 21” x 27”.
Next cut your muslin about 1/2” bigger than that. If you are making a 17” x 25” surface, then you will need to cut your muslin 22” x 28”
Make absolutely sure that both your batting and your muslin are 100% cotton! You want fabrics that can withstand the extreme heat of a pressing surface, and synthetic fibers will melt and ruin your iron!
I personally did not measure, I just laid it on the floor and eyeballed it.
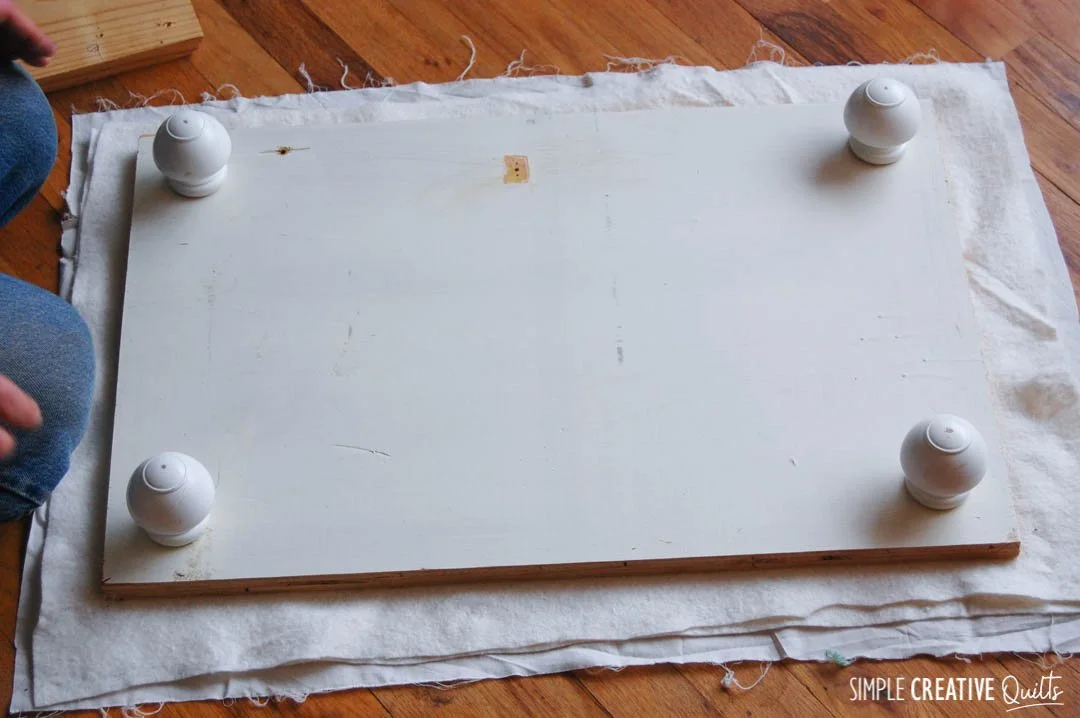
Step 4: Measure and Mark for Feet
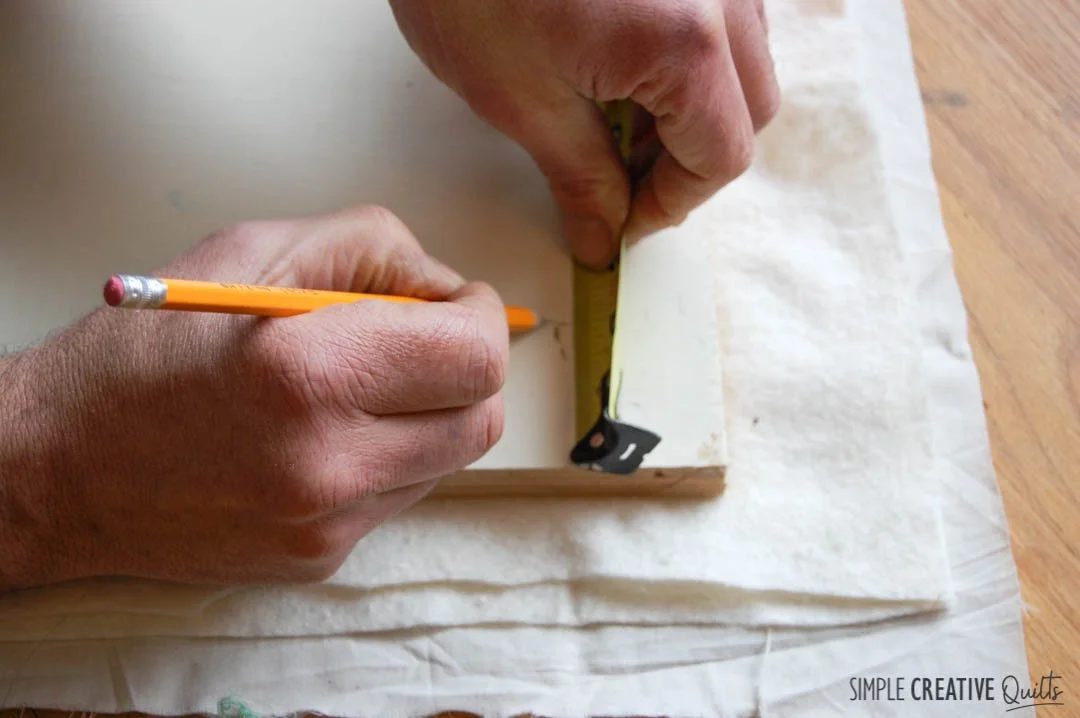
To mark the spot for the legs, you need to measure in 2” from each direction on each corner. (Thank you to Mr. Quilts for doing this part for me!)
Step 5: Screw in Feet
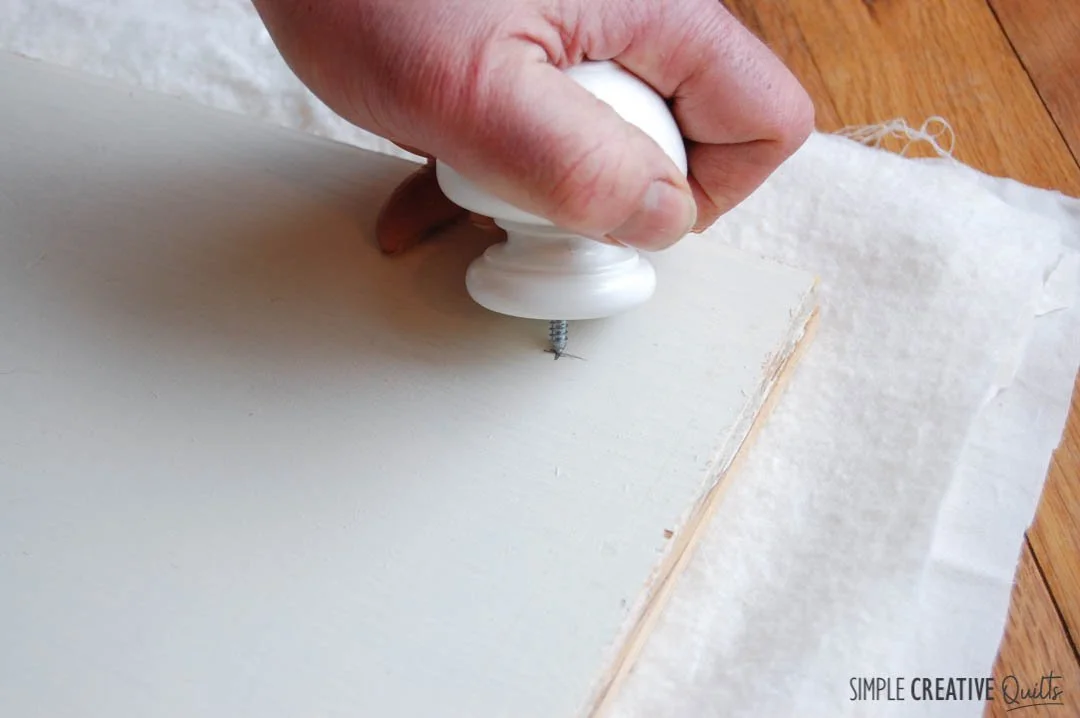
The finials come with a screw that will sink into the plywood without pre-drilling, but of course if you prefer you can always pre-drill the hole.
Position the pointy tip of the screw that is attached to the finial on the spot you marked previously.
Tilt the finial so it is upright and perpendicular to the board, then apply a little downward pressure and twist. The screw should grab into the wood and you can screw it in.
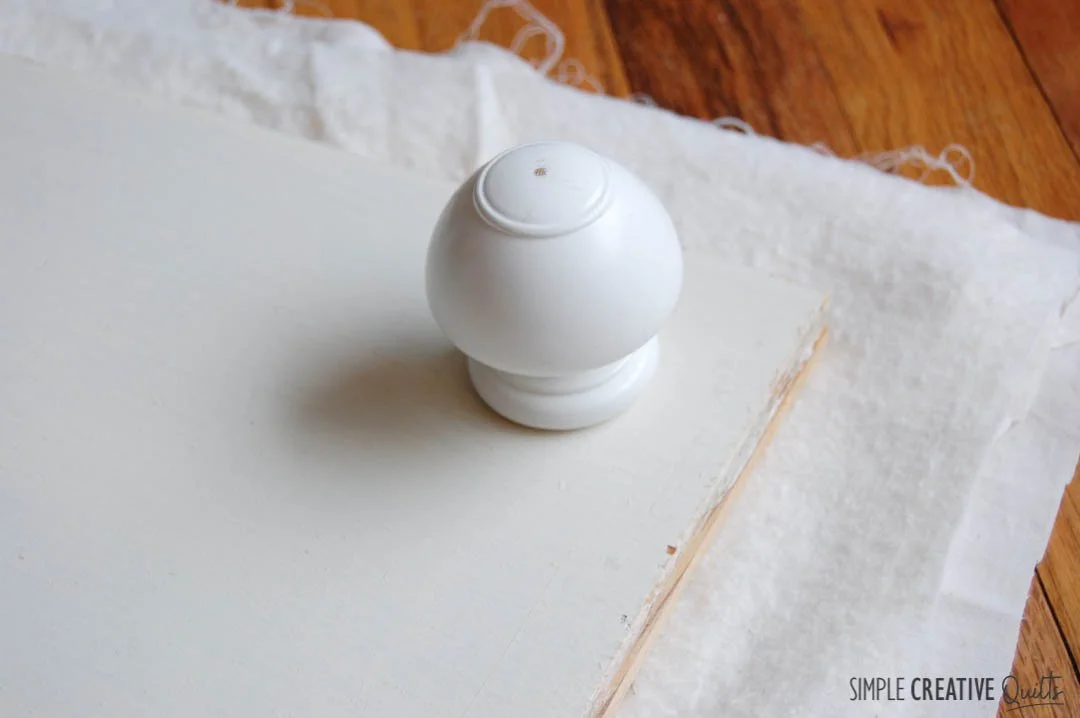
Once it is screwed all the way flush with the board, go ahead and do the next one until all four are attached.
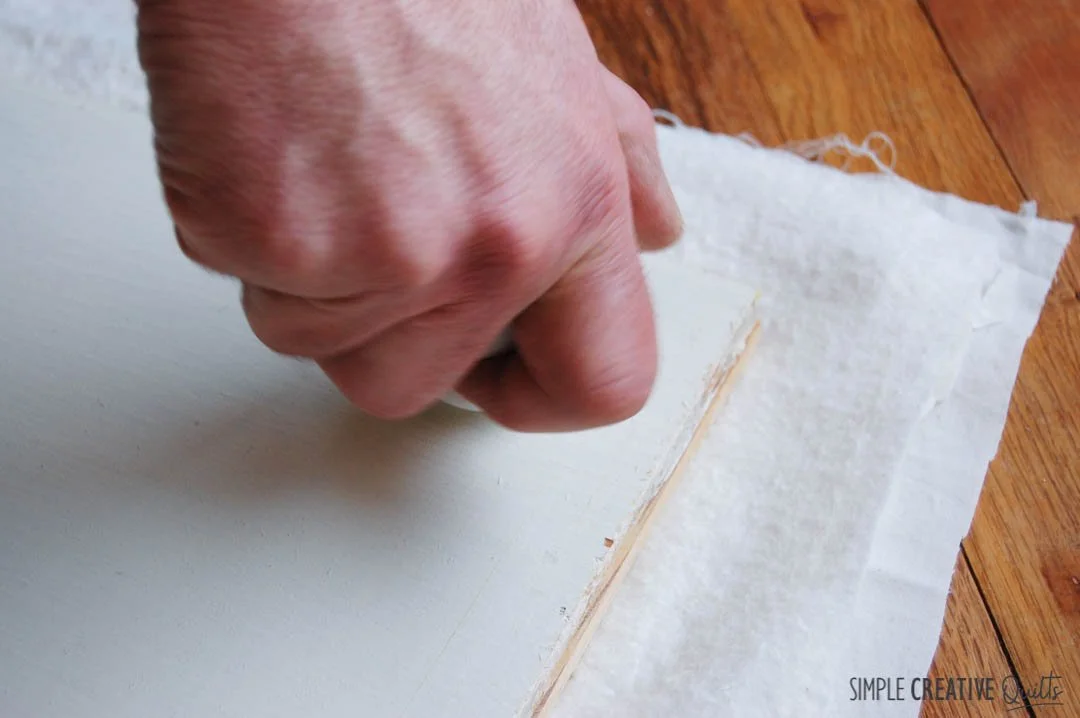
Step 6: Staple Batting and Muslin
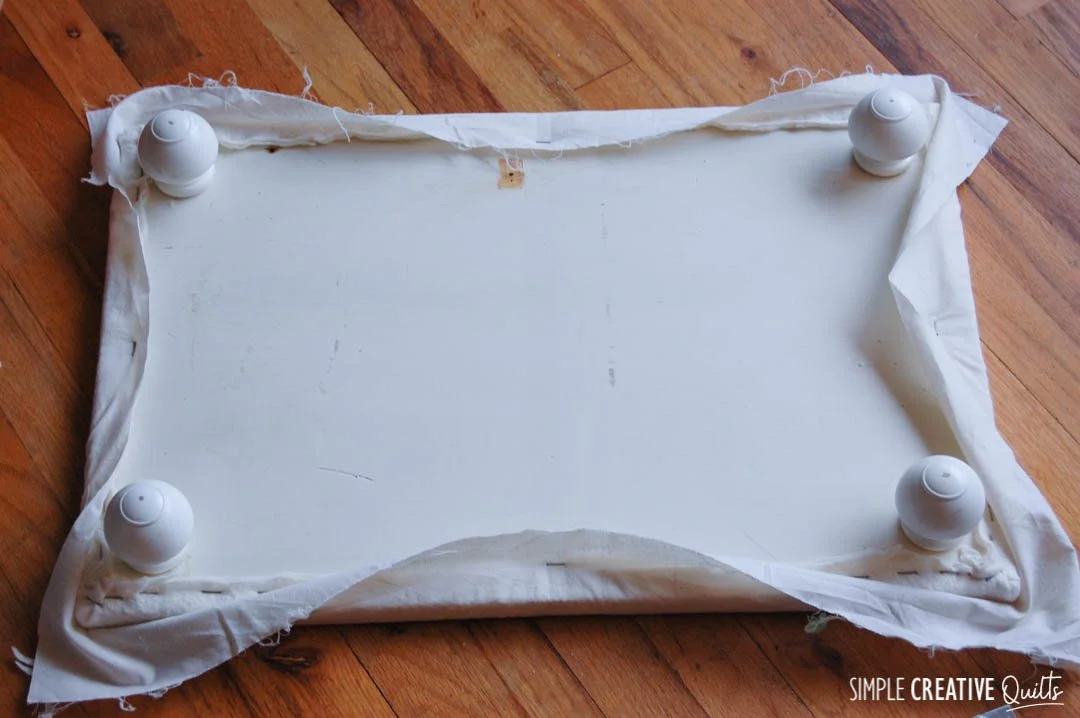
Next you want to staple your batting and muslin down. Start by stapling the middle of one side then give both layers a gentle but firm pull and staple the middle of the other side. Do the third and fourth sides the same way, then start working your way toward the corners, alternating sides as you work your way toward the corners. Staple approximately every 2-3”.
Update May 28, 2020: When I covered this the first time I stapled the batting separately from the muslin with the idea that I could replace the muslin and leave the batting. In practice both layers get wrecked simultaneously so they both had to be replaced together and pulling out alllll those staples was painful!! When I recovered this I stapled both layers together and used much fewer staples, averaging about 2-3” apart.
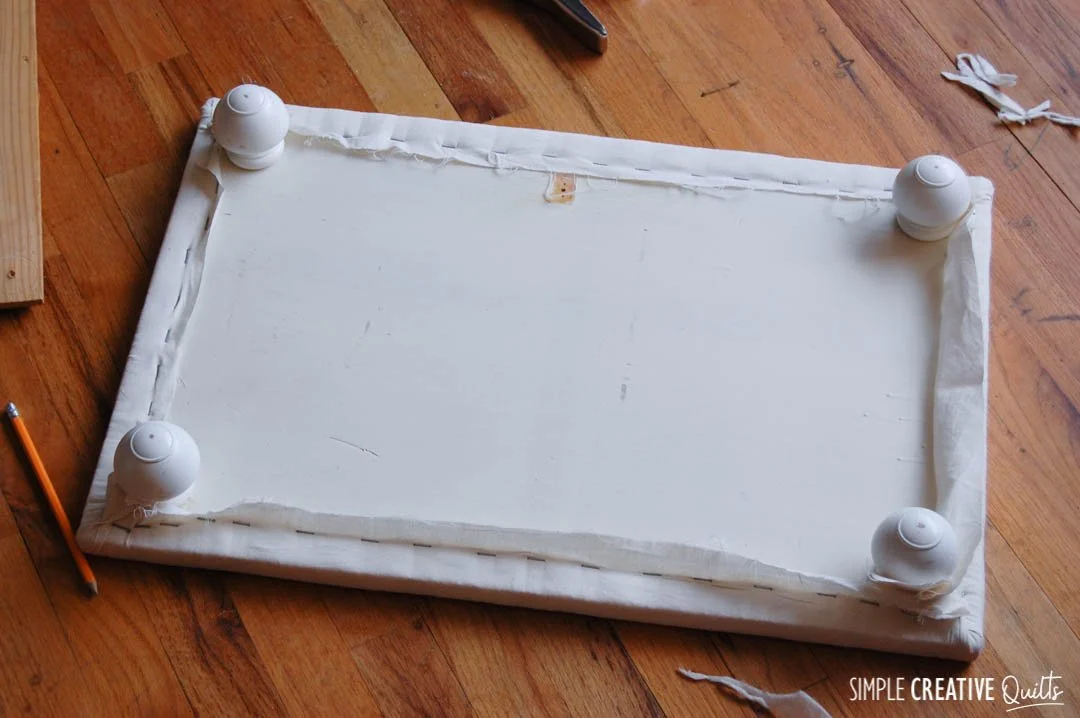
If any of the staples don't go all the way in (I have a knack for NOT getting them in), just tap them in with a hammer.
When you get to the corners, just fold everything in as neatly as possible and tack down with a couple of staples.
Update May 28. 2020: When I first covered this I sort of pleated the corner fabric and put 1,001 staples in it (which were a huge pain to remove. Most recently when I recovered it, I just stapled each side until they met in the corner, then folded the excess fabric down flat in one sort of fan shape. Two staples, done.
Step 7: Trim Excess Fabric
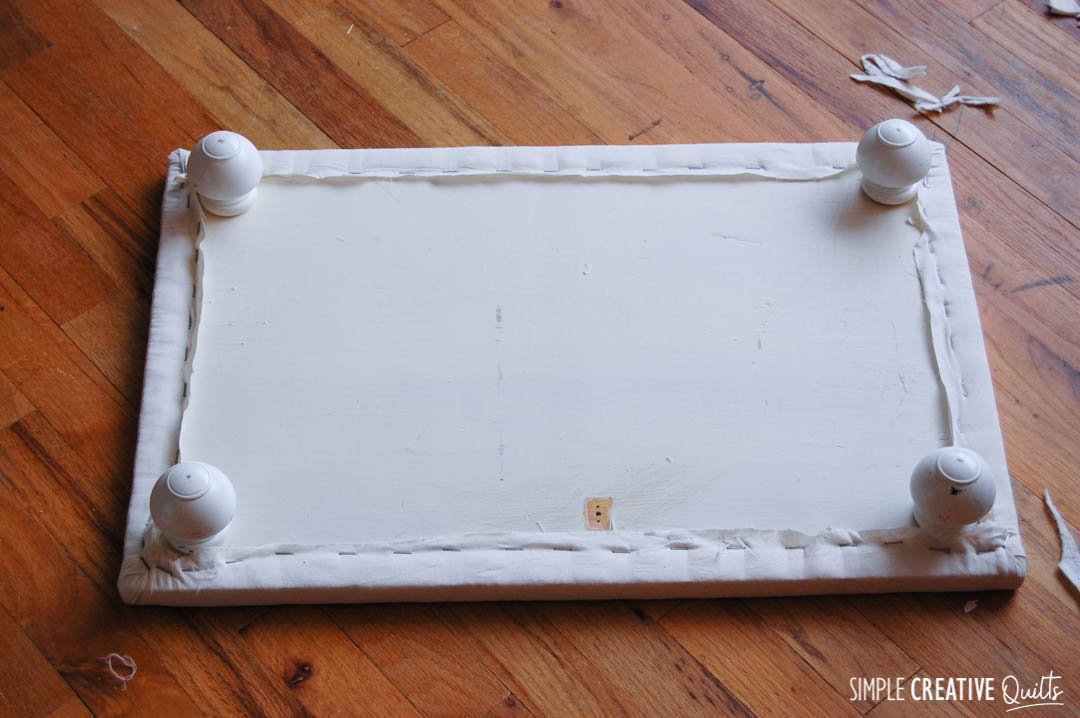
Once it's all stapled down you can cut away all the excess fabric and batting. It doesn’t have to be perfect, just cut it about 1/2” from the staples.
Step 8: Flip Over and Use!
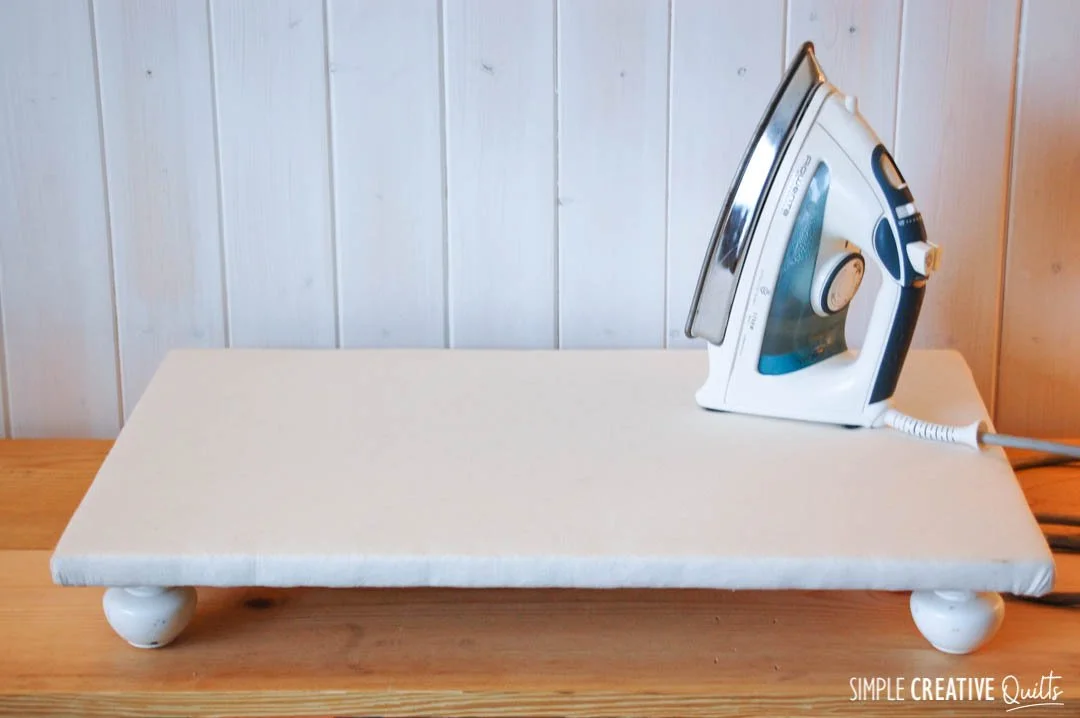
Turn your project right side up and voila! You have a handy, somewhat portable, completely flat and smooth pressing surface to grace your work table or console.
Final Notes
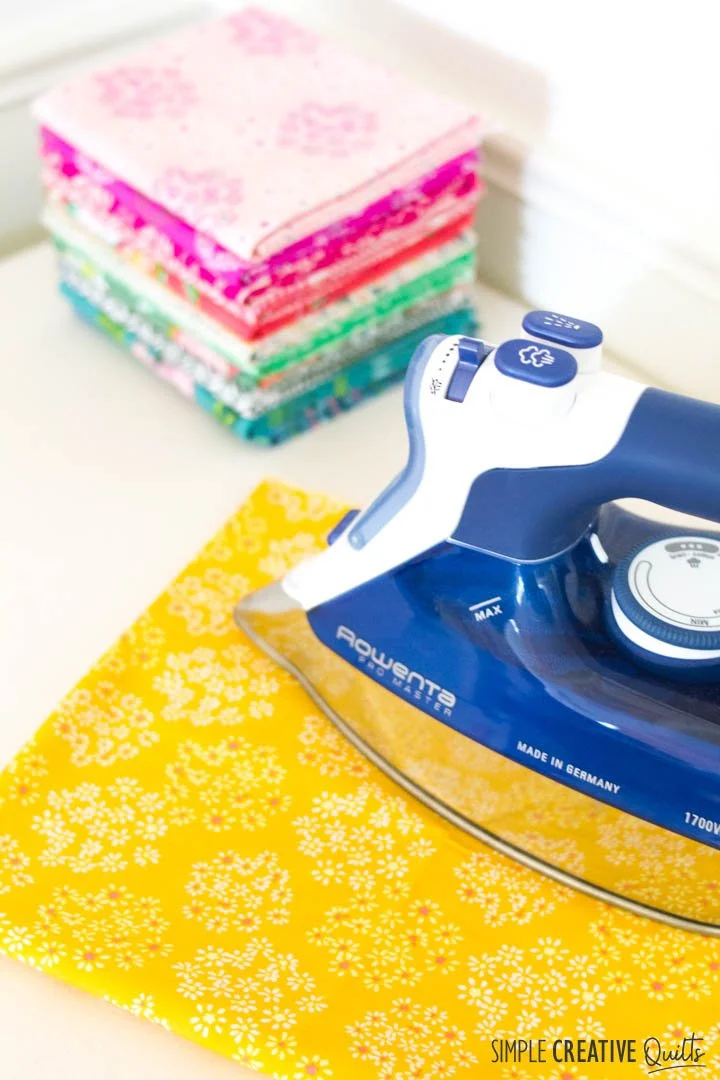
With use, the heat and steam of the iron will stain the muslin, leaving brownish splotches all over it. To keep it looking fresh, I recommend using some kind of cover. You don’t even have to get fancy, you can just lay an appropriately sized piece of fabric over the top and it will stay mostly in place on its own. Then just replace it when it gets grody.

Congratulations!!
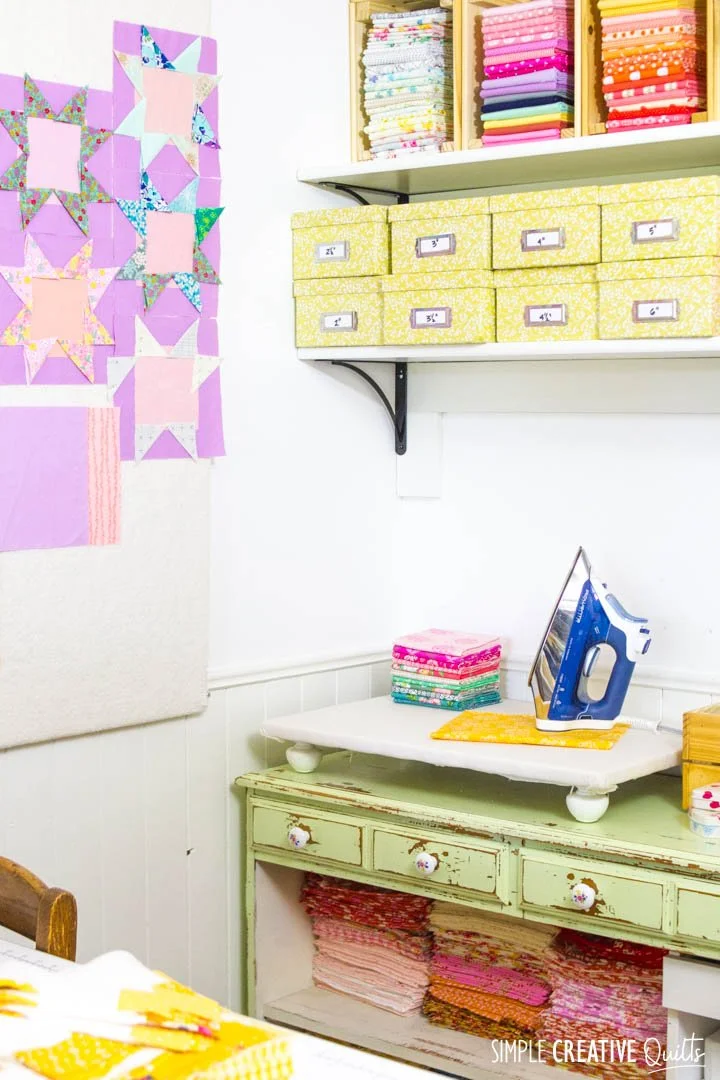
You have now make yourself a portable, small-space-friendly pressing surface that you can tuck into even the smallest corner. In my sewing space, it sits on a chippy green cabinet in the corner just behind my sewing machine and next to my design wall.
What about you? What type of ironing board or pressing surface do you use? Leave a comment below and let me know!
Let me know if you give it a try!


Quisque iaculis facilisis lacinia. Mauris euismod pellentesque tellus sit amet mollis.