How to Make a Crosstie Quilt Block
Plus-block quilts have been all the rage for several years now, and I couldn’t help but want to design one of my own. Believe it or not I actually drafted this pattern and started on the original Crosstie quilt back in 2014!! I finally finished that original quilt earlier this year and decided it was time to write my first “real” pattern (as opposed to scribbles on scratch paper). It’s called Crosstie and the full pattern is available free for newsletter subscribers! So if you want to get your copy, subscribe (it’s free!) and get access to the Crosstie pattern and all of my other patterns for free.
But if you just want to make a block on your own, I’ve got you. Here’s all the details for making a Crosstie quilt block, no pattern needed.
Read on for all the details!
Project Table of Contents
Step 1: Gather Fabric & Supplies
To make one Crosstie quilt block, you will need:
Fabric for the cross (a scrap 8” square is plenty big)
Fabric for the background (a scrap 7” square is plenty)
Normal patchwork supplies such as thread, sewing machine, iron, pressing surface, etc..
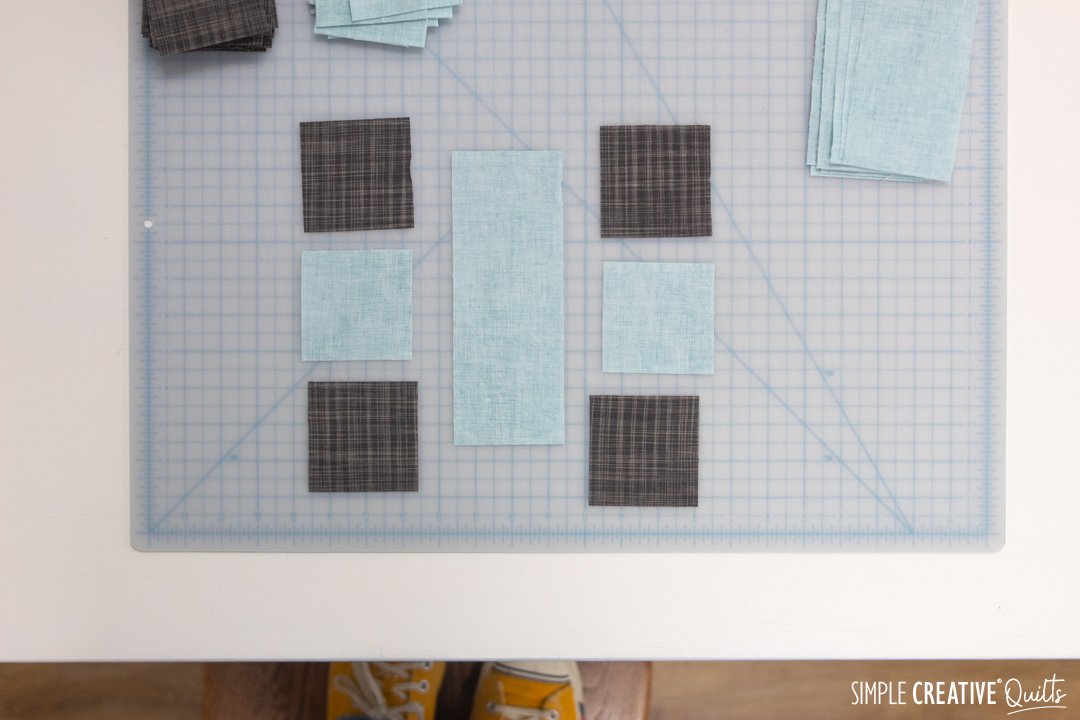
Step 2: Cut Fabric
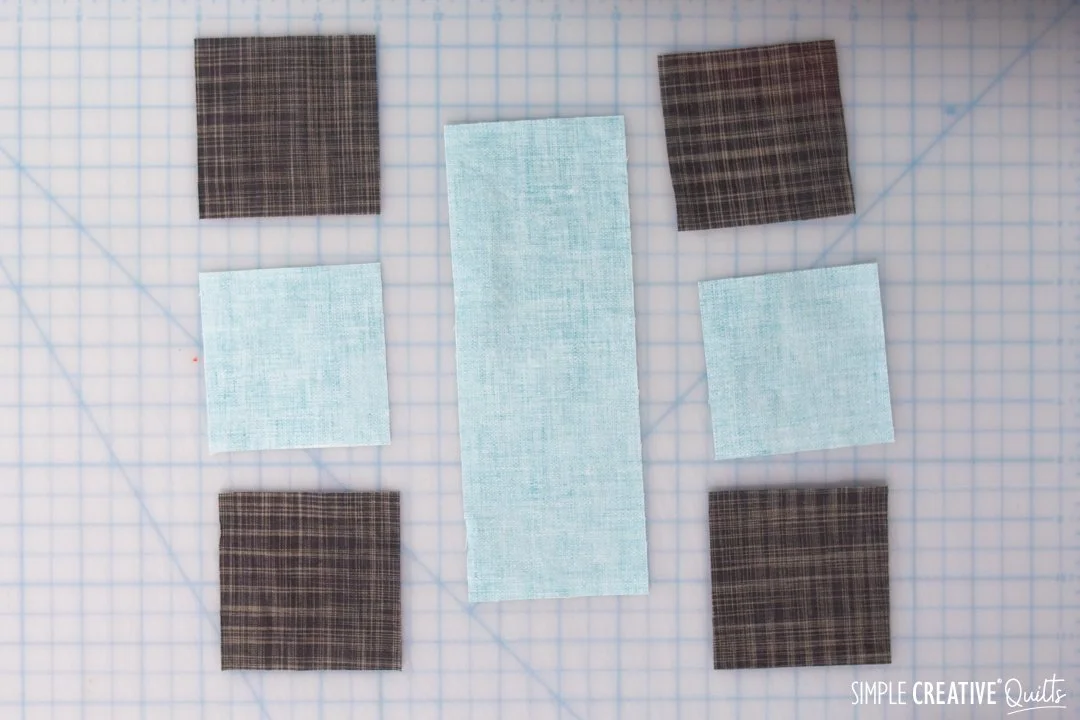
For one Crosstie quilt block you will need:
One 3” x 8” rectangle for the center bar of the cross
Two 3” x 3” squares for the side arms of the cross
Four 3” x 3” squares for the background (the four corners of the block)
You can use dark on light or light on dark or even go scrappy. As long as there’s a value or color contrast between the cross and the background, you are good to go.
Step 3: Assemble & Press Units
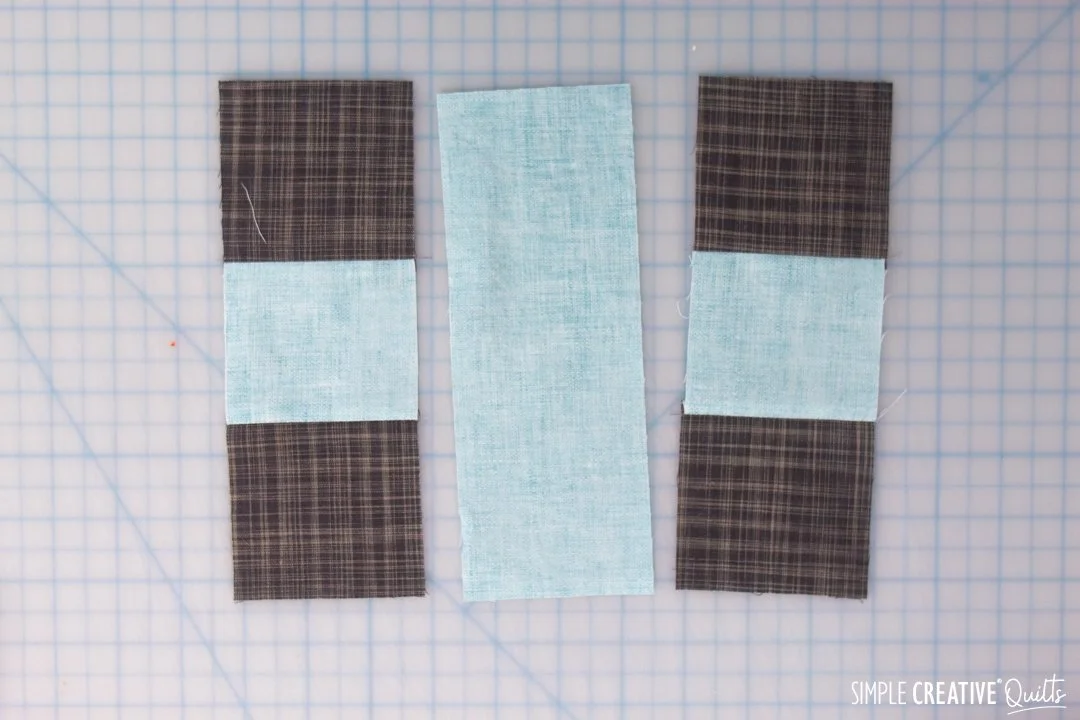
Once your pieces are cut, your first job is to sew up those side units. Sew one 3” x 3” cross fabric square between two 3” x 3” background squares. Make two, and press the seams toward the cross fabric.
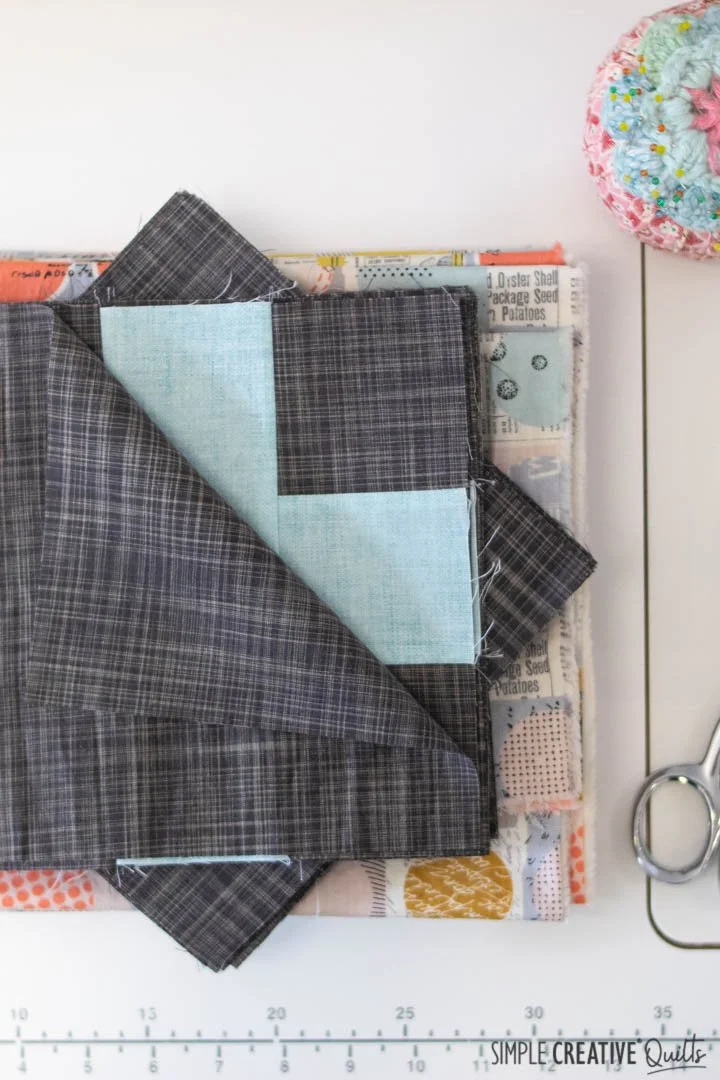
Step 4: Assemble & Press Block
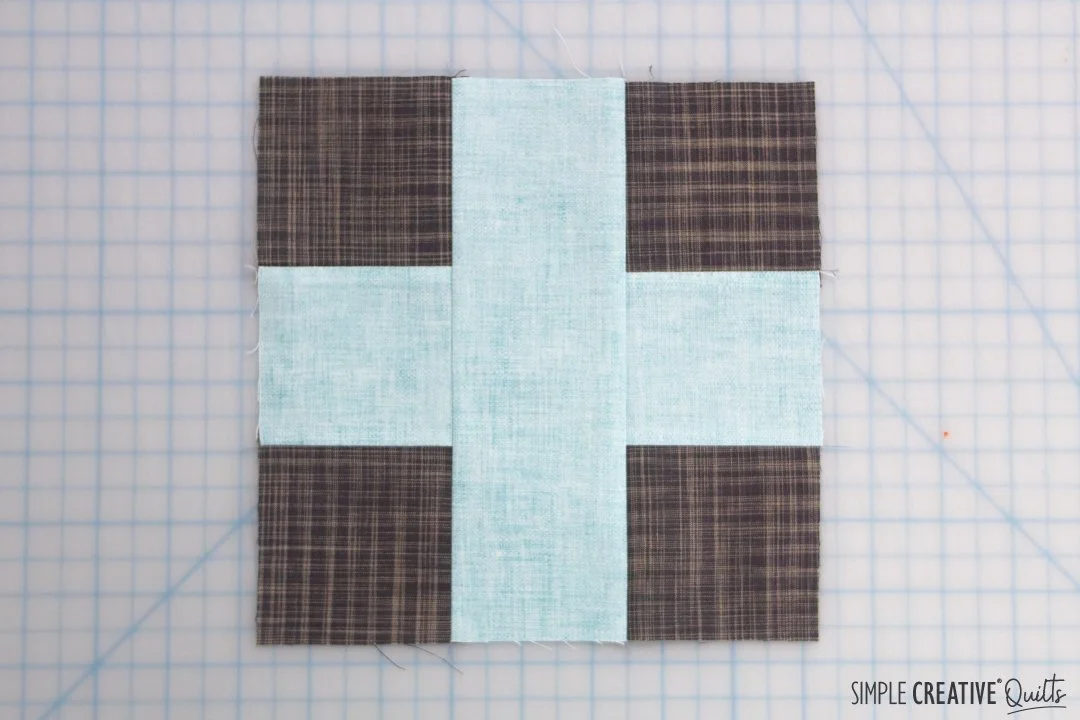
Then, sew the two units on either side of your center 3” x 8” rectangle. Press the seams toward the cross fabric and you are done!
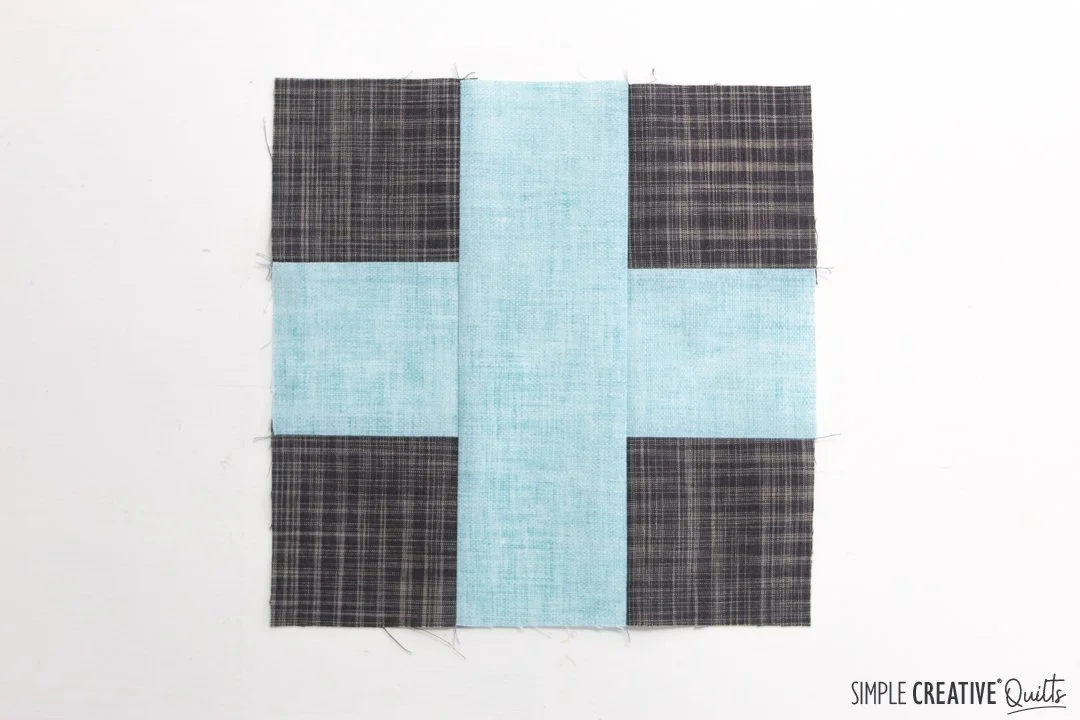
Congratulations!!
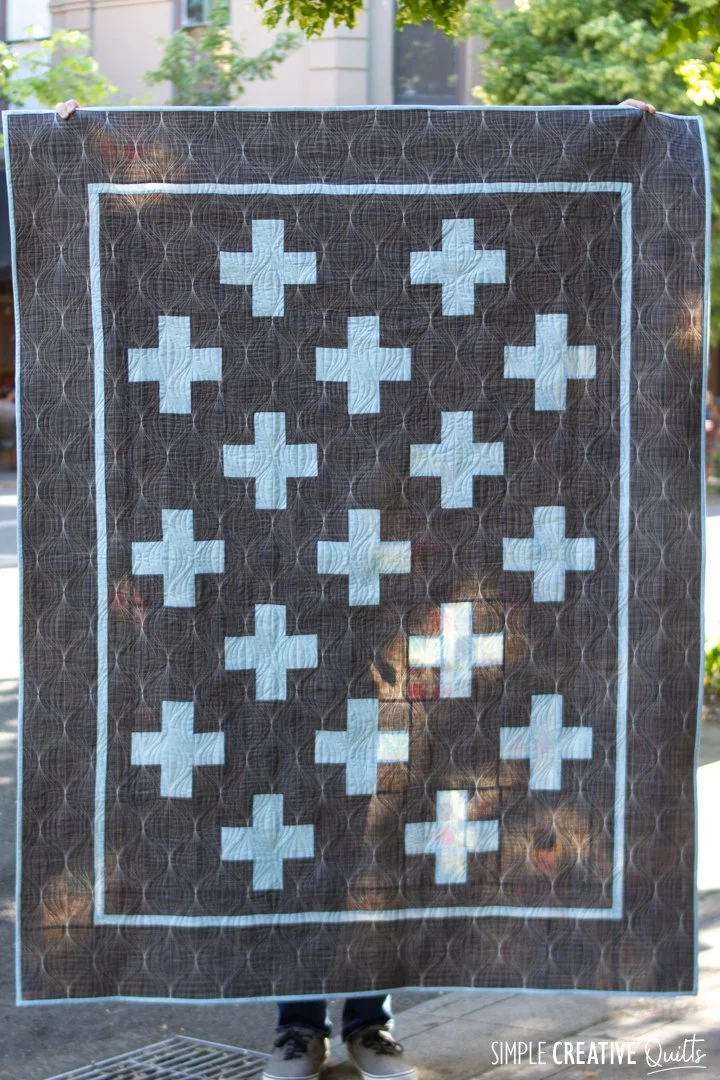
You have now make yourself one Crosstie quilt block! Hooray! For my Crosstie quilt pattern, I alternate the Crosstie blocks with settings quares and put a series of borders to get that kind of hotel-chic look.
If you’d like to have the full pattern with instructions for allll the sizes (seven!), you can! It’s a free download for newsletter subscribers. Just head over, sign up for my free newsletter, The Creative Quilter, and you’ll get access to this and all of my future patterns, all for free.
Plus, let me know if you give it a try! I love to see (and sometimes feature) when people make quilts using my patterns. Use hashtag #crosstieblock or #crosstiequilt to make sure I see it!


Commodo cursus magna, vel scelerisque nisl consectetur et. Donec id elit non mi porta gravida at eget metus.