How to Make an Ohio Star Block
Classic quilt blocks have always been a passion of mine. There’s just something so sweet about making the same quilt block that many quilters have made before me. It makes me feel connected, somehow. To the past, to my family, to other quilters. So it is with great joy that I am going to be exploring (and sharing) many classic quilt blocks over the next several months.
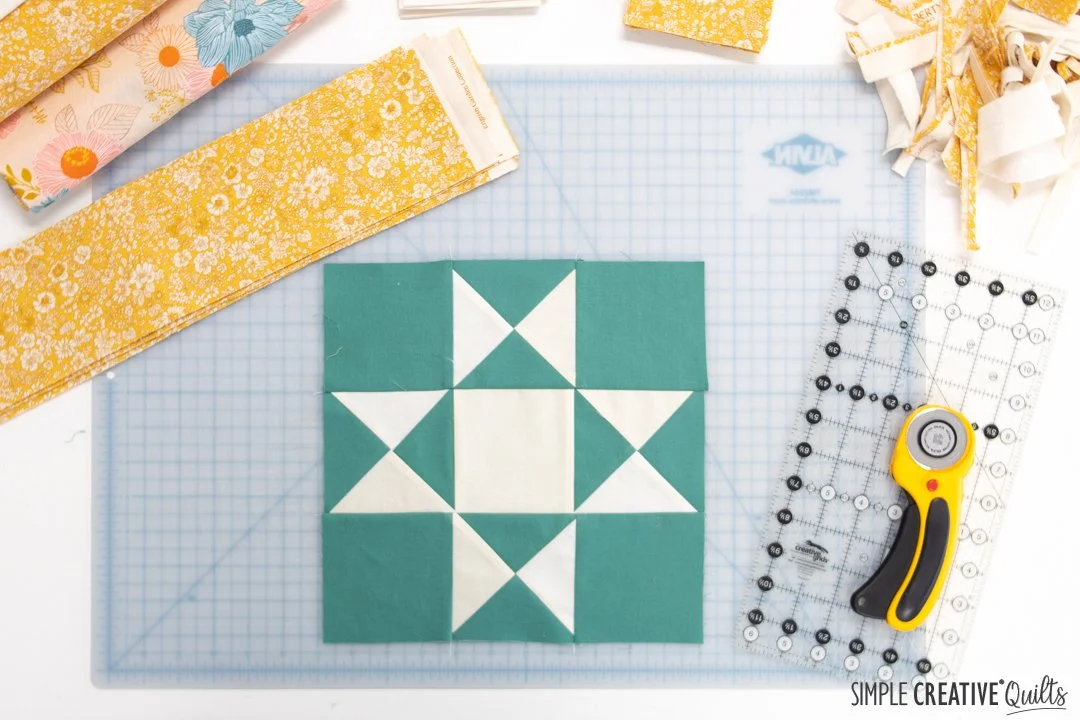
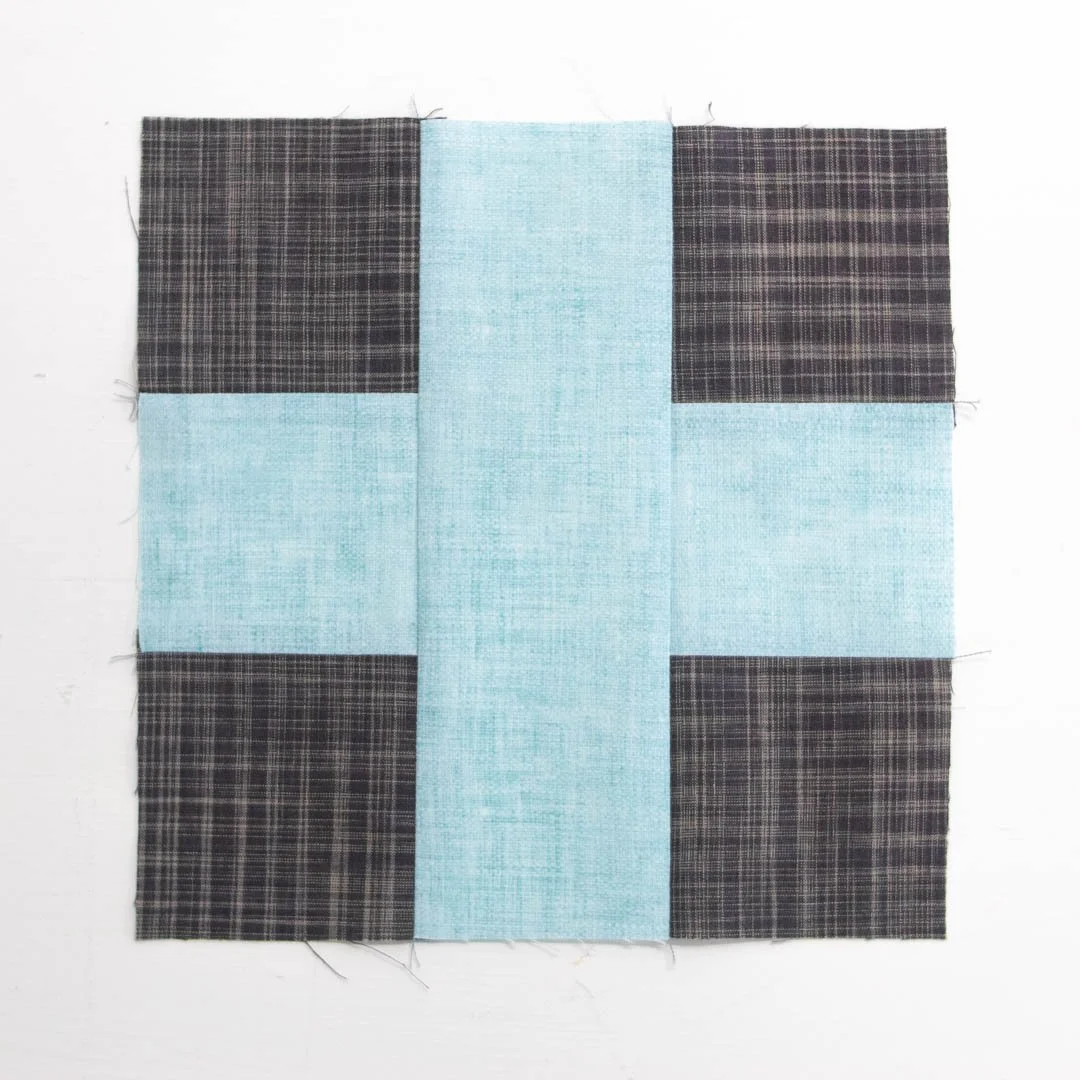
First up is this favorite, the Ohio Star. I like that it has so many possibilities. It is very graphic and bold and with the right color combinations can look quite modern. Or, as I’ve done here, with Liberty of London fabric as the background and a cream star, looks quite traditional. Scrappy works too—as long as you have a clear value contrast, you can use anything you want.
So here’s how you make one.
Read on for all the details!
Project Table of Contents
Step 1: Gather Fabric & Supplies
To make one Ohio Star quilt block, you will need:
Fabric for the star (a scrap 11” square is plenty big)
Fabric for the background (a scrap 11” x 20” is plenty)
Normal patchwork supplies such as thread, sewing machine, iron, pressing surface, etc..
This tutorial makes an Ohio Star block that finishes at 10 1/2” square. More sizes are coming soon!
Step 2: Cut Fabric
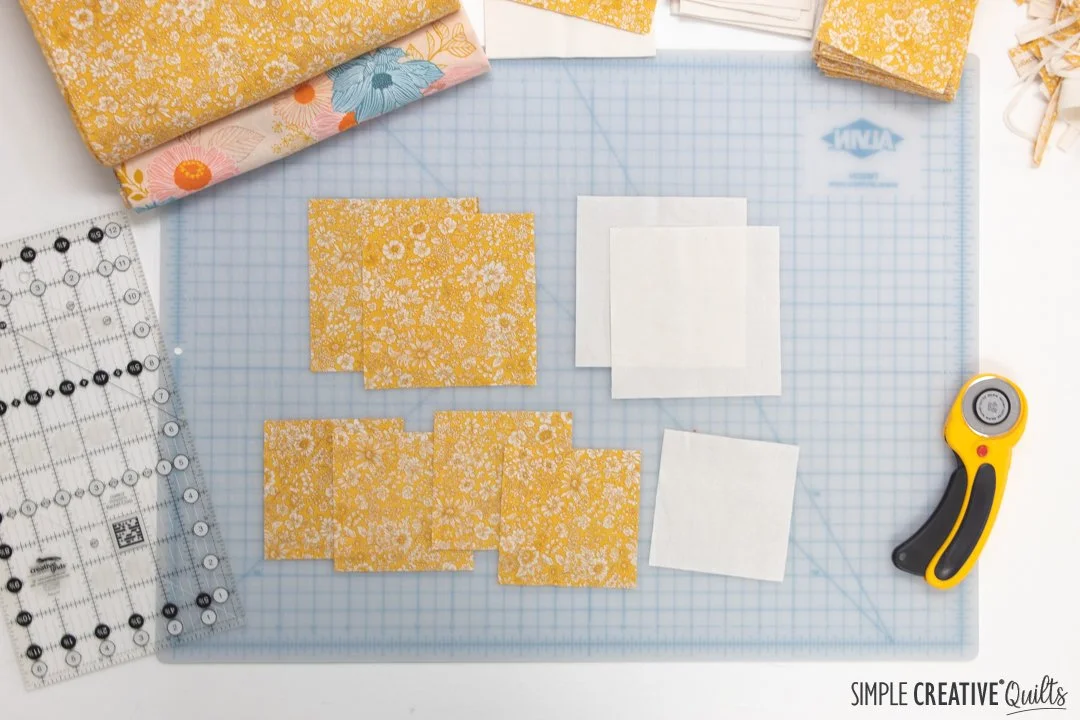
For one 10 1/2” x 10 1/2:” Ohio Star quilt block you will need:
Two 5” x 5” squares of background fabric (shown here in the yellow floral)
Two 5” x 5” squares of star fabric (shown here in off-white solid)
Four 4” x 4” squares of background fabric for the corners (shown here in yellow floral)
One 4” x 4” square of star fabric (shown here in off-white solid)
You can use dark on light or light on dark or even go scrappy. As long as there’s a value or color contrast between the star and the background, you are good to go.
Step 3: Make Half-Square Triangles
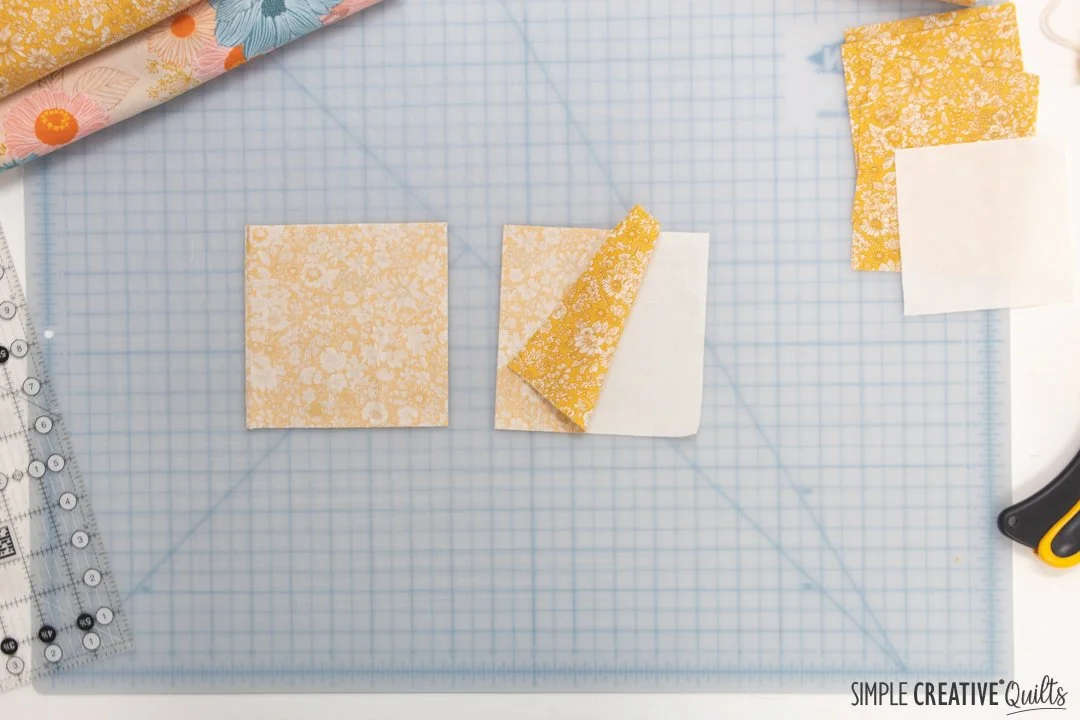
Pair up your 5” x 5” squares, one star fabric and one background fabric. Place them right sides together and make sure the edges are flush and square. You should have two sets.
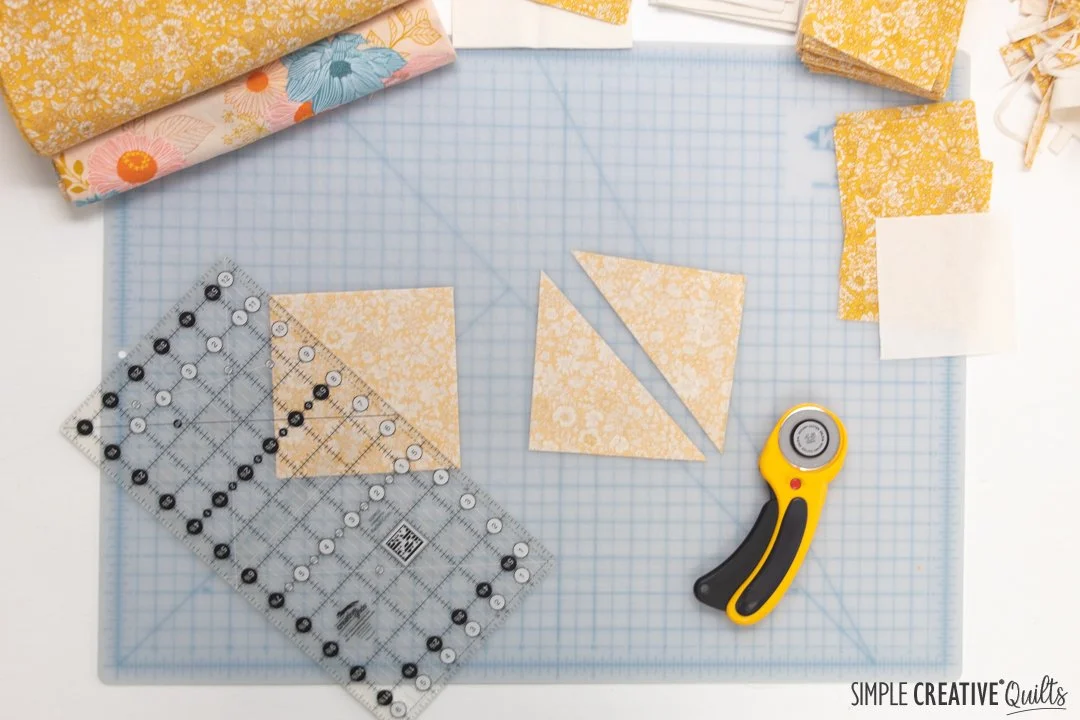
Once they are paired up cut each set diagonally and sew together on the diagonal edge with a 1/4” seam allowance. (If you prefer, you can also mark them diagonally, sew 1/2” from the line, and cut afterwards.)
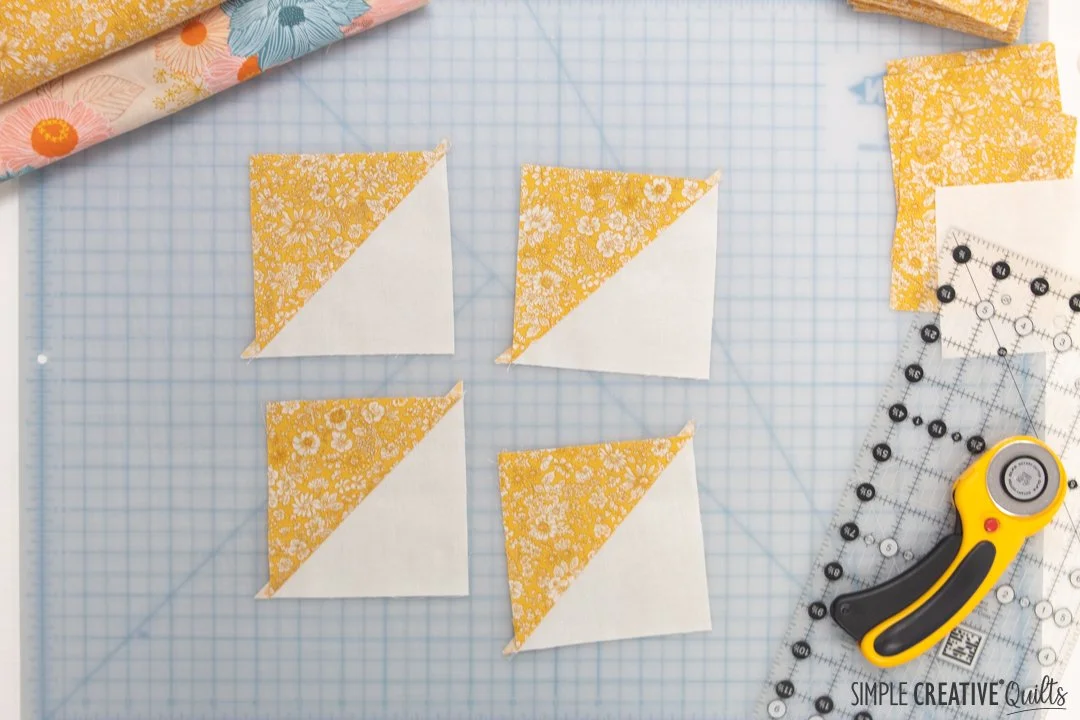
After sewing/cutting, open and press the seam allowance toward the darker fabric. You should now have four half-square triangles!
Step 4: Make Quarter-Square Triangles
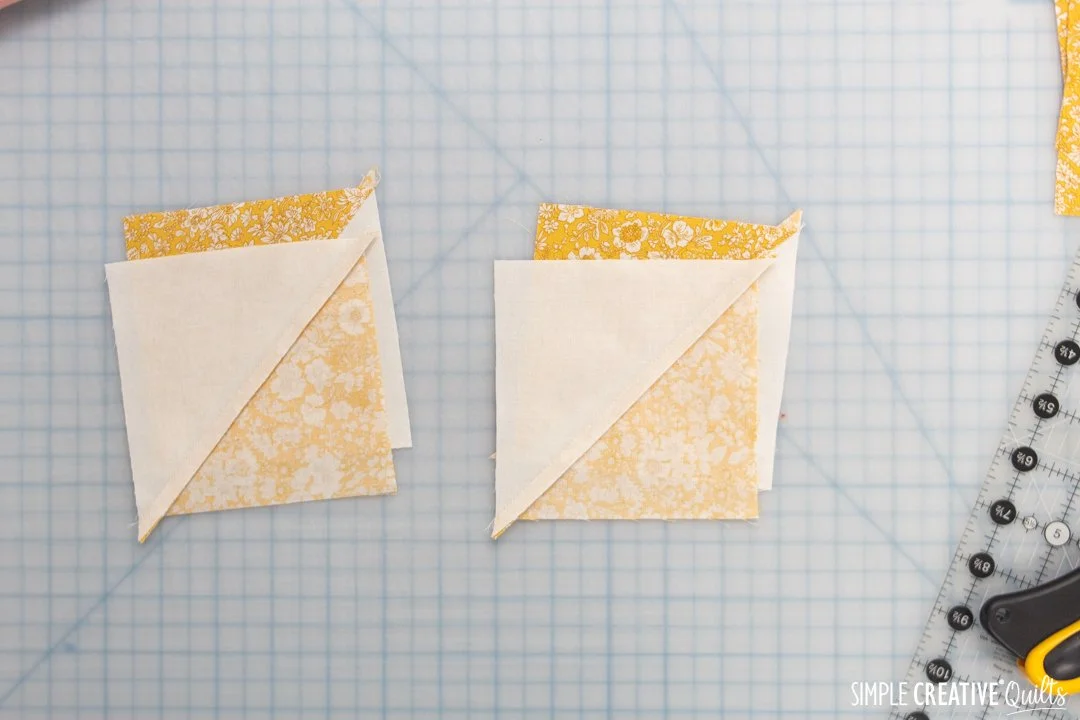
Now, pair up your half-square triangles! Make sure that you have the darker fabric facing in opposite directions as shown, and the seam allowances nest. Match up the edges so they are flush and square.
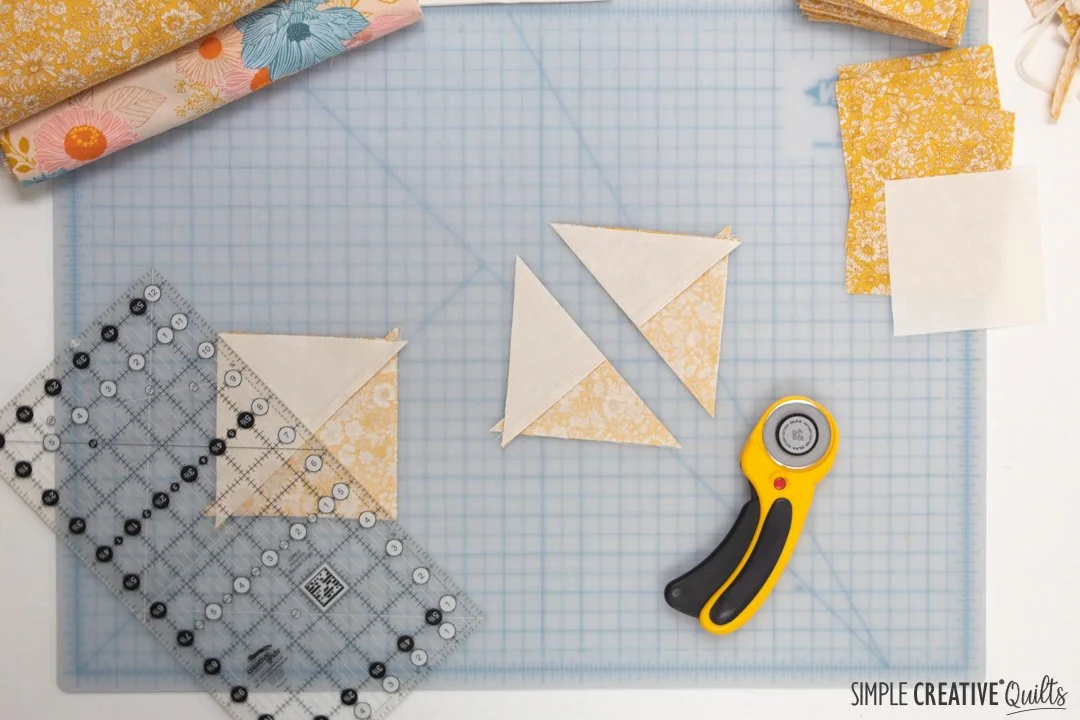
Once they are paired up cut each set diagonally and sew together on the diagonal edge with a 1/4” seam allowance. (If you prefer, you can also mark them diagonally, sew 1/2” from the line, and cut afterwards.)
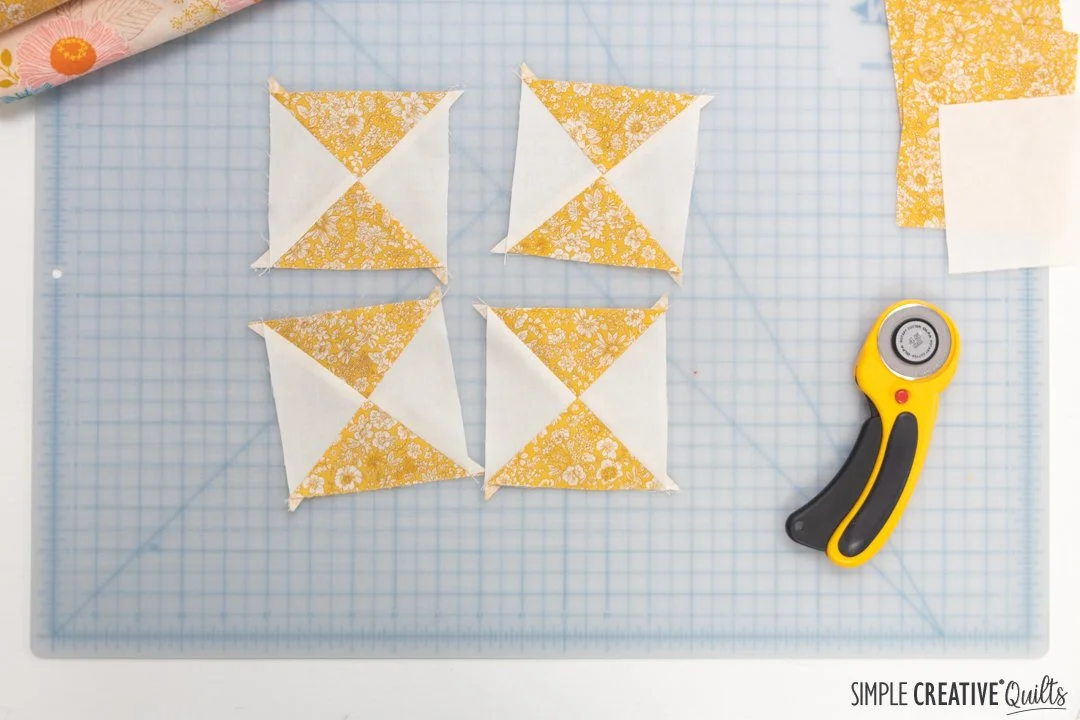
After cutting/sewing, press them open with the seam allowance toward the lighter fabric. Half the seam allowance will face one way, and half will face the other. You now have four quarter-square triangles, or hourglass blocks.
Step 5: Trim the Quarter-Square Triangles
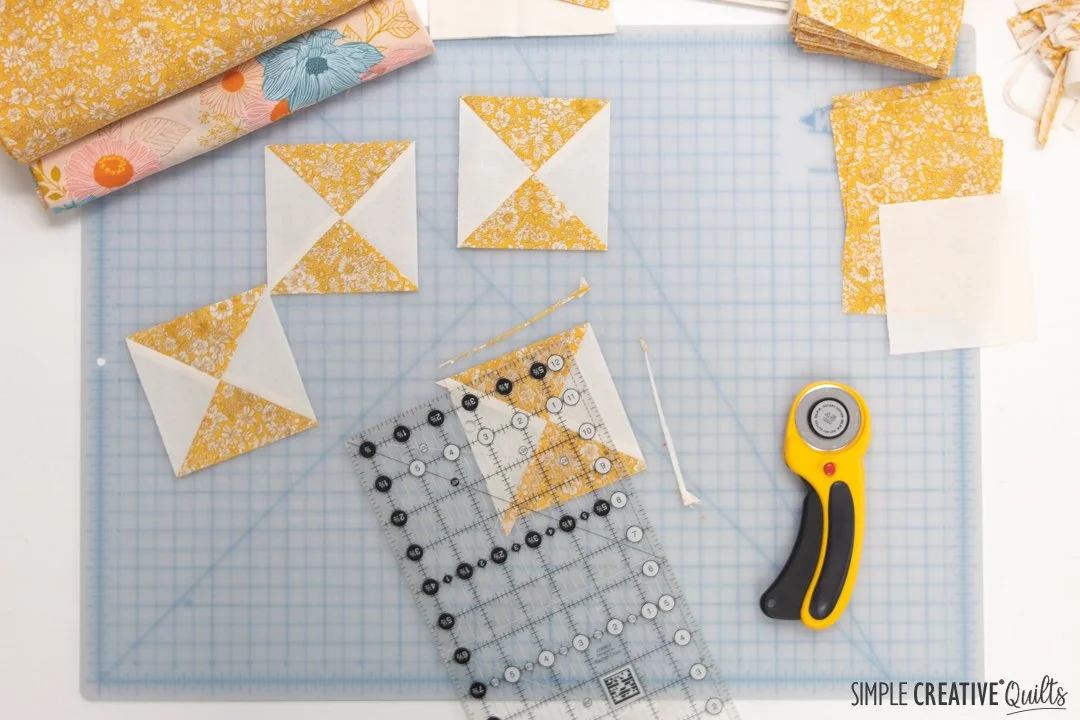
Next you want to trim and square up your hourglass blocks (quarter-square triangles). They need to be trimmed to 4” square. To trim them correctly, align the 45 degree line on the ruler with the angles of the hourglass, and make sure the 2” line crosses directly through the center point of the hourglass.
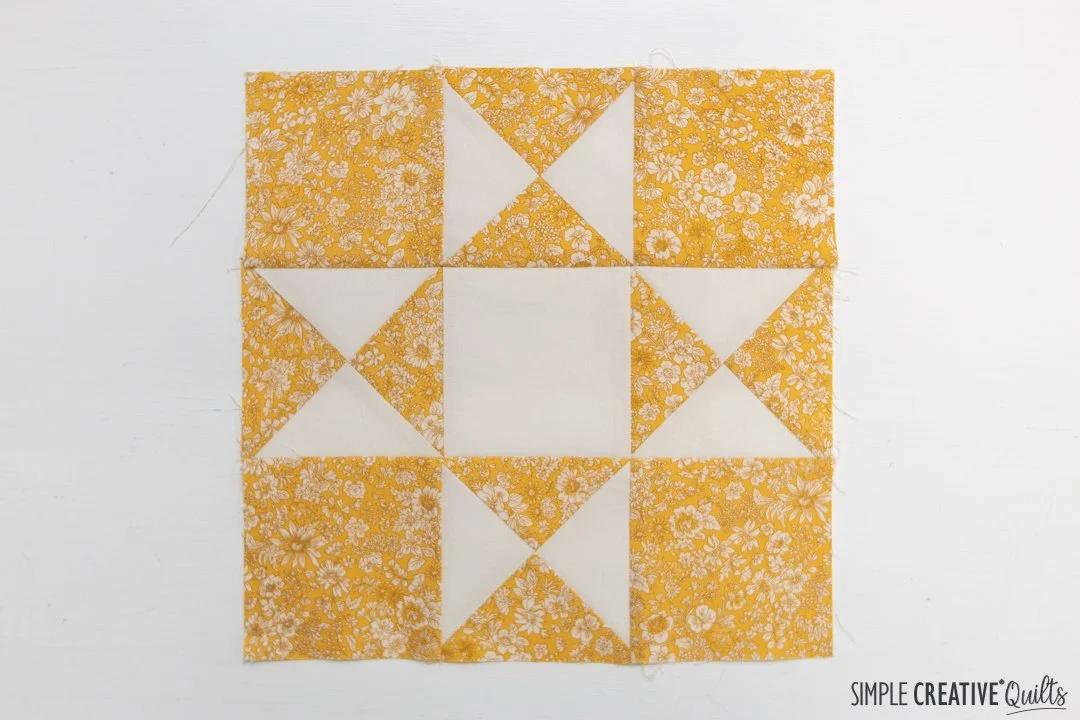
Step 6: Lay Out the Block
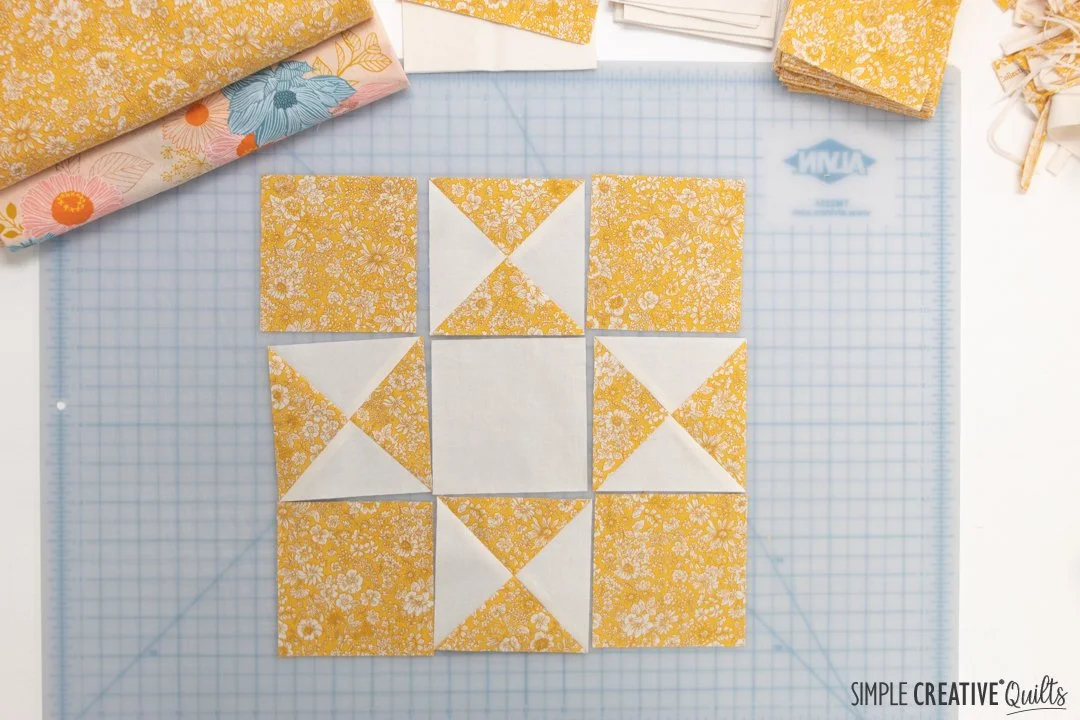
Now to lay out the block! It’s three rows of three. The four background 4” x 4” squares go in the corners, and the one 4” x 4” star fabric square goes in the middle. Then arrange the four hourglass blocks, which are now also trimmed to 4” x 4” so they form star points as shown above.
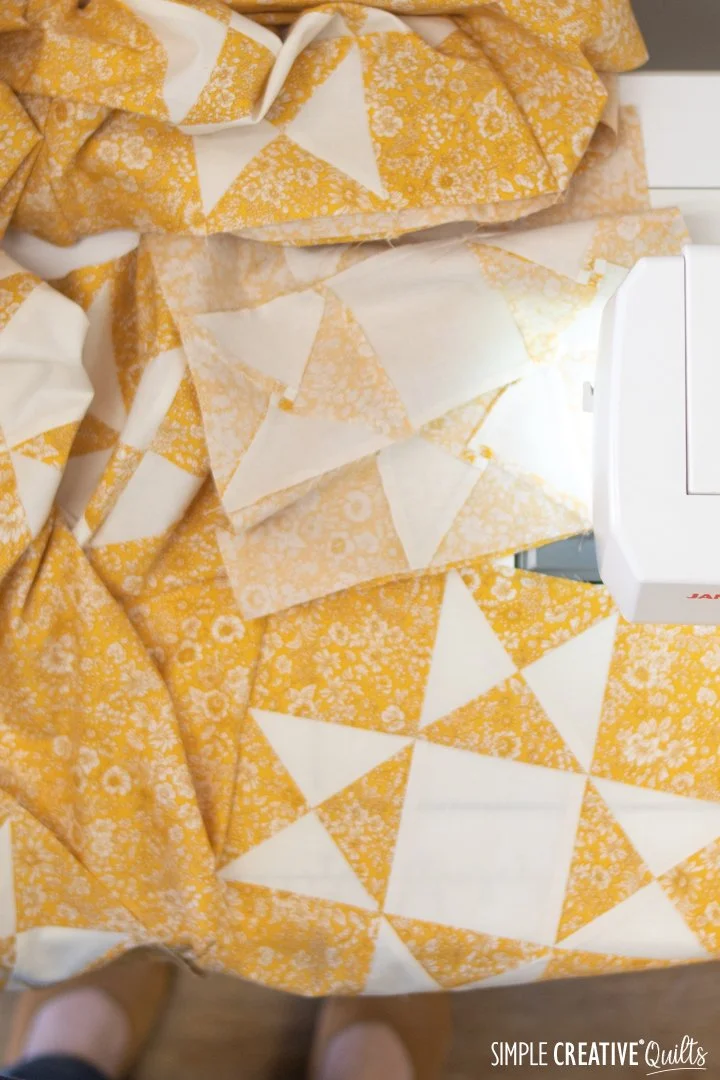
Step 7: Sew the Block Together
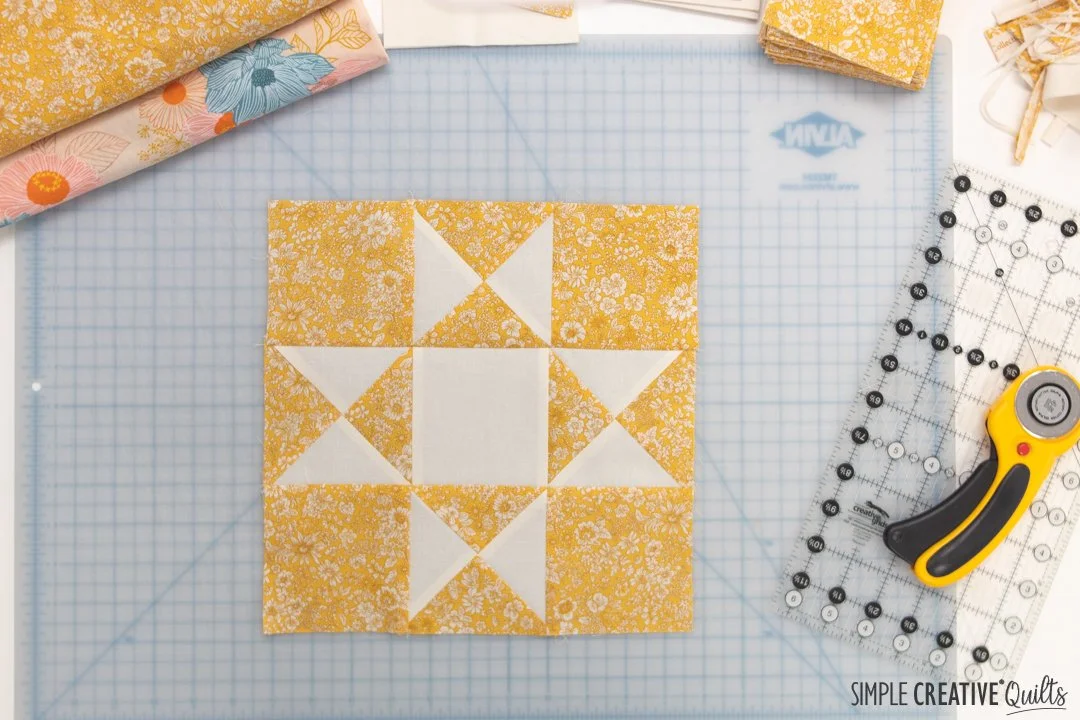
Sew each of the rows of the block together, then sew those rows together and voila!
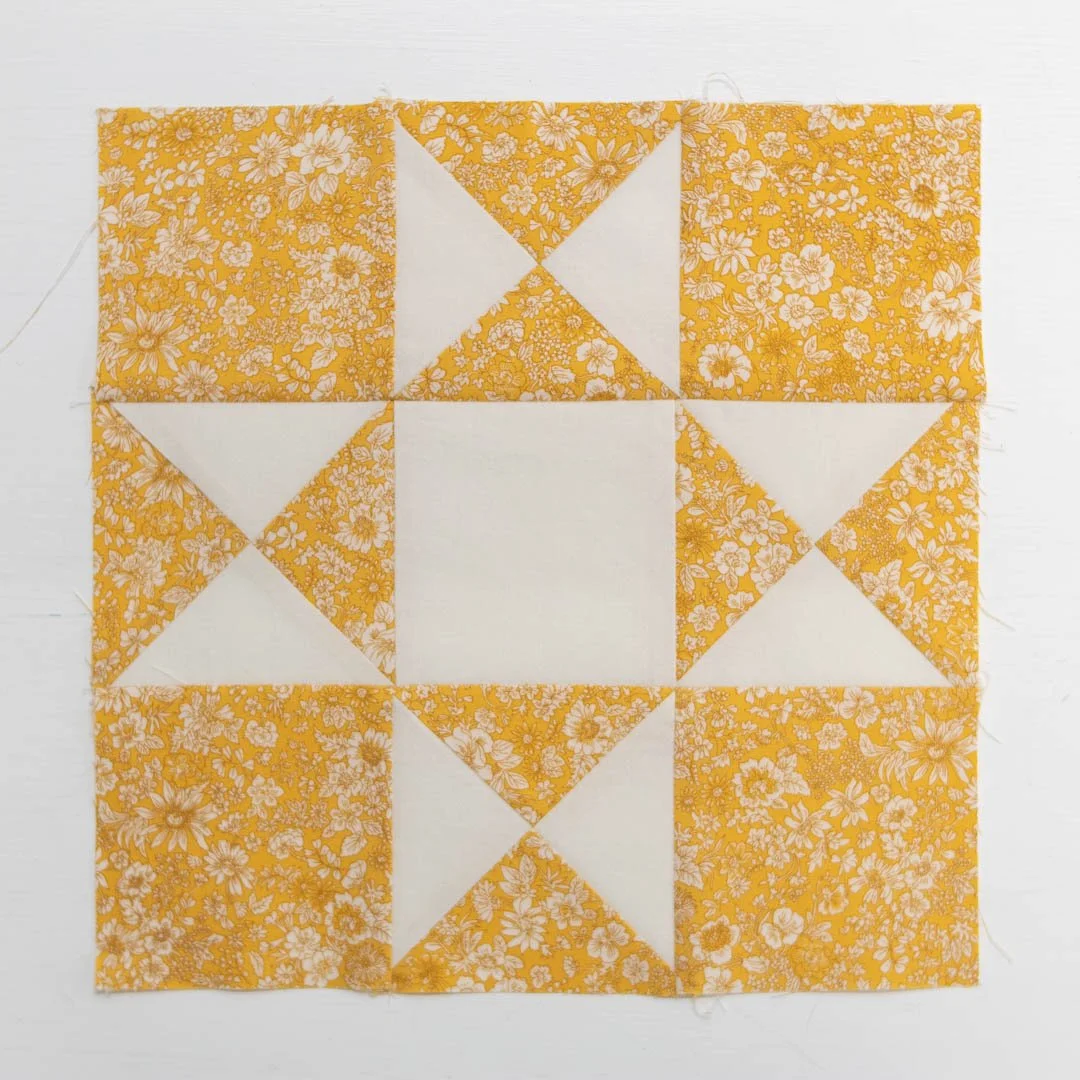
Congratulations!
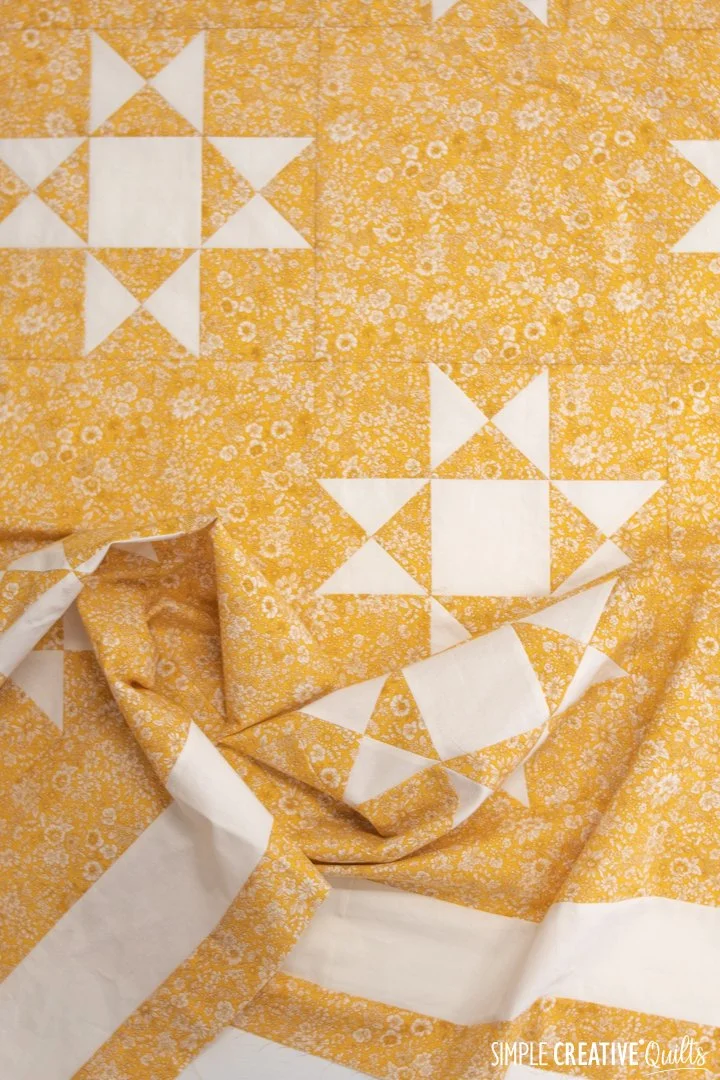
You have now made yourself one Ohio Star Block! This particular block finishes at 10 1/2” x 10 1/2”. These are great to make in the classic two-color style or can also be made with scrappy fun.
For now, I’m using them to make a queen-sized bed quilt using Kona Bone and yellow Liberty of London quilting cotton I’ve been hoarding. I can’t wait to see how it looks when it’s done!
I am working on a pattern for this quilt with all the sizes and details, so if you’d like to hear when that becomes available, sign up for my free newsletter, The Creative Quilter. Plus, in the meantime you will get access to all the patterns I’ve already shared plus any I share in the future!
Let me know if you give it a try! I love to see (and sometimes feature) when people make quilts using my patterns. Use hashtag #simplecreativequilts to make sure I see it!

Vivamus pellentesque vitae neque at vestibulum. Donec efficitur mollis dui vel pharetra.